
LIGHT UP YOUR WORLD WITH ZTYLIST !!! ⚡
You’ve finally done it. You’ve picked out the perfect neon wall art to define your space. Whether it’s a glowing script for your living room or one of our iconic neon signs for bedroom aesthetics, the excitement is real. But now comes the part that makes some people nervous: installation.
Don't panic. At Ztylist, we believe that high-end home decor should be accessible, fun, and totally DIY-friendly. You don’t need a professional contractor to get that premium glow. Our signs are designed for simplicity, durability, and instant impact.
This guide is your roadmap to a flawless setup. We are going to cover everything from tool selection to the final flick of the switch. Get ready to transform your room from "basic" to legendary. 🚀
WHY LED NEON IS THE SMART CHOICE 💡
Before we pick up the drill, let’s talk about why you made the right move with Ztylist. Traditional glass neon is heavy, fragile, and runs on high voltage. Our LED neon signs are the modern evolution.
- Durable, safe, and cool to the touch. ✋
- Energy-efficient and long-lasting.
- Lightweight enough for almost any wall type.
Our signs use a high-quality acrylic backboard, making them sturdy yet easy to handle. Whether you’re hanging a Route 66 Classic in your garage or a Pink Lady in your salon, the process remains fast, easy, and flawless.
STEP 1: SCOUT YOUR SPACE 🔍
Location is everything. You want your neon wall art to be the vibrant heartbeat of the room.
FIND THE SWEET SPOT
Aim for eye level. In a bedroom, mounting a sign above the headboard is a classic move that creates a dreamy ambiance. If it’s for a workspace, ensure it’s not directly in your line of vision to avoid glare on your monitor.
CHECK FOR POWER
Your Ztylist sign needs juice. Look for the nearest power outlet. While our cables are generous in length, you’ll want to plan how to hide the cord or incorporate it into the design.
WALL TYPE MATTERS
Are you mounting on drywall, brick, or wood? Most of our customers deal with drywall, which is perfect for the standard anchors we recommend. If you're going into concrete or brick, you'll need a masonry bit.

STEP 2: GATHER YOUR DIY ARSENAL 🛠️
You don't need a massive workshop to hang neon signs for bedroom vibes. Just the basics will do.
THE ESSENTIAL CHECKLIST:
- Power Drill: For creating those precise pilot holes.
- Pencil: To mark your territory.
- Level: Because a crooked sign is a mood killer. 📐
- Measuring Tape: Accuracy is your best friend.
- Screwdriver: For the final tightening.
- Wall Anchors & Screws: Usually included, but always good to have spares.
STEP 3: THE ART OF PRECISION PLACEMENT 📏
Now we get to work. This is the most critical step for a professional look.
- POSITION: Hold your sign against the wall (grab a friend to help!).
- LEVEL: Place your level on top of the acrylic backboard. When the bubble is centered, you’re gold.
- MARK: Use your pencil to dot the wall through the pre-drilled holes in the sign. These holes are standard on all Ztylist products to save you the headache of measuring from scratch.
PRO TIP: Use a piece of painter's tape on the wall first, then mark on the tape. This keeps your wall clean if you decide to shift the position by an inch!

STEP 4: DRILLING AND ANCHORING 🔨
It’s time to make it permanent.
THE PILOT HOLE
Select a drill bit that matches the size of your wall anchors (typically 6mm or 1/4 inch). Drill directly into your pencil marks. Don't be afraid: just keep the drill straight and steady.
INSERT THE ANCHORS
Push the plastic wall anchors into the holes. If they’re a bit snug, give them a gentle tap with a hammer until they are flush with the wall. These anchors are what give your neon wall art the support it needs to stay secure for years.
STEP 5: THE MOUNTING METHODS 🔩
At Ztylist, we primarily use two styles of mounting. Check your kit to see which one you have.
THE STANDOFF MOUNT (PREMIUM LOOK)
This is the bold choice. Standoffs allow the sign to "float" about an inch off the wall, creating a stunning 3D effect and allowing light to bleed out the back for a vibrant halo glow.
- Unscrew the standoff barrels.
- Screw the barrel into the wall anchor.
- Place the sign against the barrels.
- Screw the standoff caps through the sign and into the barrels. Hand-tighten only! 🖐️
THE DIRECT SCREW METHOD
Simple and effective. You just screw the sign directly into the anchors with a decorative washer to protect the acrylic. This is great for high-traffic areas where you want the sign flush and immovable.
TRANSFORMING THE BEDROOM: A CASE STUDY 🌙
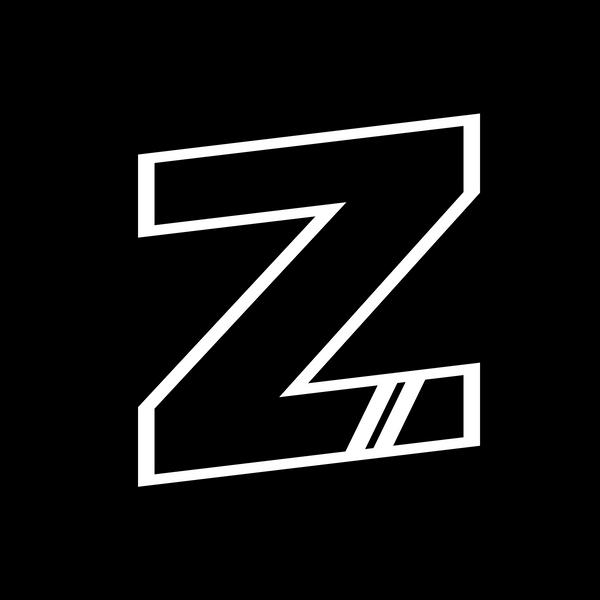
There is nothing quite like neon signs for bedroom decor. It turns a sleeping space into a sanctuary. Take a look at how a simple "Z" sign or a Moon Waves piece can change the entire energy of a room.

Before the sign, this room was plain. After? It’s modern, moody, and magnificent. The soft glow acts as the perfect nightlight and a conversation starter all in one.
THE FINAL CONNECTION: POWERING UP ⚡
Once the sign is mounted, it’s time for the "Big Reveal."
- CONNECT: Plug the sign into the LED controller or transformer.
- PLUG IN: Connect the transformer to your wall outlet.
- SWITCH ON: Use the remote or dimmer (if included) to find your perfect brightness.
HIDING THE CABLES:
Want that ultra-clean look? Use clear command clips to run the wire down the corner of a wall, or hide it behind furniture. For a truly professional finish, some DIY-ers use slim cable raceways painted the same color as the wall.
FREQUENTLY ASKED QUESTIONS (FAQ) 🙋
Q: Can I hang my neon wall art on a gallery wall?
A: Absolutely! Our signs look incredible when surrounded by framed art. Check out our Beaupepp collection for inspiration on how to mix neon with traditional prints.
Q: Is it safe to leave my sign on all night?
A: Yes! Ztylist signs use low-heat LED technology. They stay cool even after 24 hours of use. Perfect for kids' rooms or as a steady nightlight.
Q: What if I’m renting and can’t drill holes?
A: No problem! For smaller signs, high-strength adhesive strips (like 3M Command strips) can work. However, for larger pieces, we always recommend the security of screws.
Q: How do I clean my sign?
A: Use a soft microfiber cloth. Avoid harsh chemicals. A gentle wipe-down once a month keeps the acrylic crystal clear and the light ultra-bright.

WHY ZTYLIST? BECAUSE YOU DESERVE THE BEST !!! 🏆
When you buy from Ztylist.shop, you aren't just getting a light; you're getting a piece of art.
- FAST SHIPPING: We get your glow to you quickly. 📦
- DURABLE BUILD: Our signs are tough, bright, and built to last.
- UNBEATABLE STYLE: From Sexy Red Lips to Mushroom LED V2, our designs are unique and bold.
We pride ourselves on providing quality that you can feel. Every sign is tested before it leaves our doors to ensure it meets our high standards.
READY TO START YOUR PROJECT? 🚀
Mounting your neon wall art is the final step in reclaiming your space. It’s about more than just lighting; it’s about expression, creativity, and vibe.
Don't wait for a "special occasion" to make your home look the way you want. Whether you want to celebrate a Happy Birthday every day or just want to see a Cute Duck with a Knife when you walk into your kitchen, we have you covered.
STAY BOLD. STAY BRIGHT. STAY ZTYLIST. ✌️

SHOP THE FULL COLLECTION NOW
Ready to add more? Visit our Sitemap to browse every design we offer. From Royal Crowns to Astronauts on the Moon, your next favorite piece is just a click away!
GO FORTH AND GLOW !!! 🌟🌟🌟